


What Is Cilium
Cilium is an open-source project focusing on container network. It can be deployed on container platforms to transparently secure the network connection and load balancing between application workloads, such as application containers or processes.
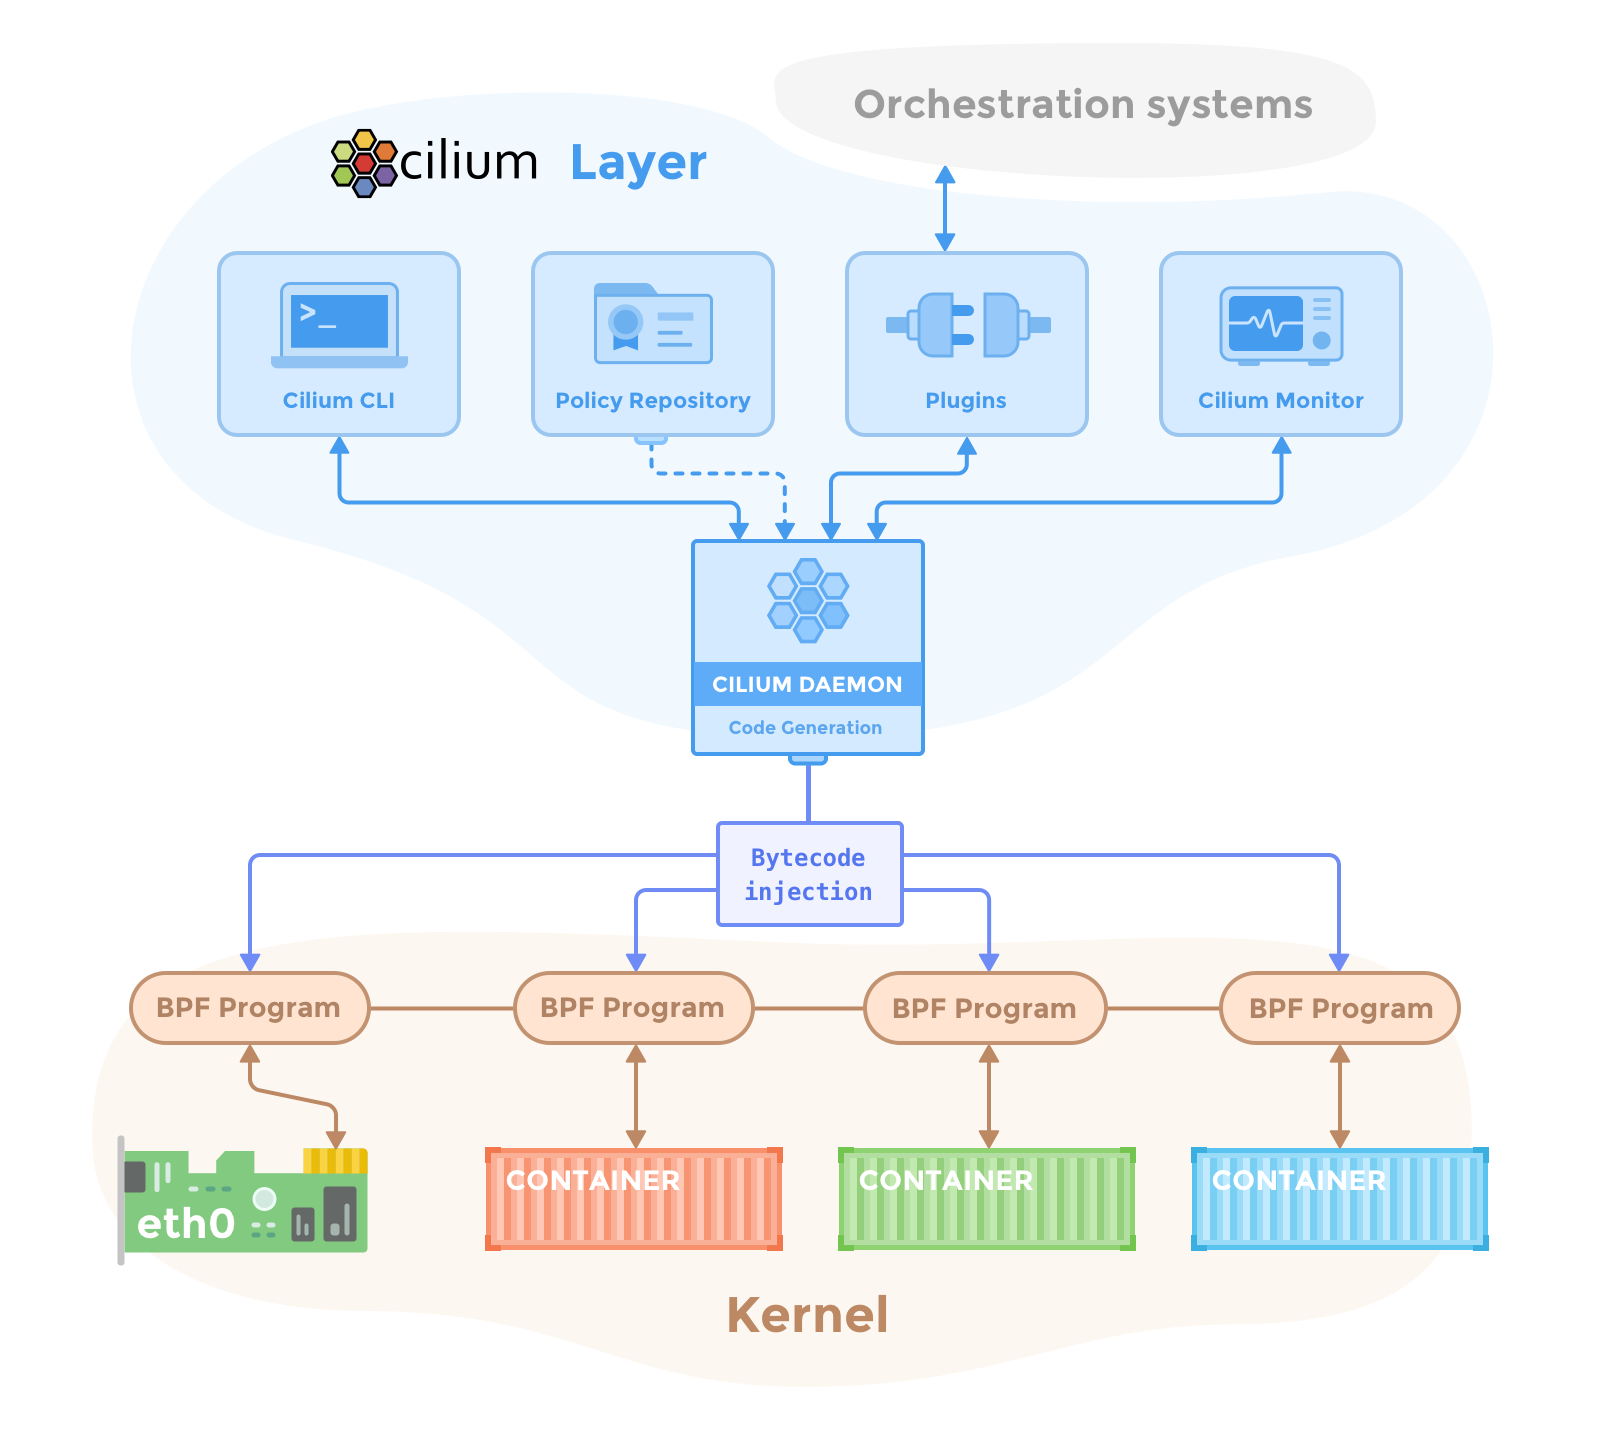
Running on Layer 3 and Layer 4, Cilium provides conventional network and security services. It also runs on Layer 7 to secure the use of modern application protocols, such as HTTP, gRPC, and Kafka. Cilium can be integrated into popular container orchestration frameworks such as Kubernetes and Mesos.
Based on a new Linux kernel technology called eBPF, Cilium enables the dynamic insertion of powerful security visibility and control logic within Linux itself. Because eBPF runs inside the Linux kernel, Cilium security policies can be applied and updated without any changes to the application code or container configuration.
In this blog, I'll try to explore Cilium as the CNI (Container Network Interface) on a Kubernetes cluster. If you are interested in the performance details about Cilium, check out CNI Benchmark: Understanding Cilium Network Performance.
What is KubeKey
Developed in Go, KubeKey is a lightweight installer that provides an easy and flexible way to install Kubernetes and KubeSphere. With KubeKey, you can install either Kubernetes only or Kubernetes and KubeSphere both.
The scenarios where you can use KubeKey:
- Install Kubernetes only.
- Install Kubernetes and KubeSphere together using one command.
- Scale a cluster.
- Upgrade a cluster.
- Install Kubernetes-related add-ons (Chart or YAML).
Currently, KubeKey supports the installation of Cilium on Kubernetes clusters, which makes the deployment process simpler and more efficient.
Install Cilium on a Kubernetes Cluster
System requirements
Before installing Cilium, you have to ensure that your system meets the minimum requirements. For example, the Linux kernel version of your host system must be 4.9.17 and later if you run Cilium using the container image cilium/cilium.
For more information about system requirements, check out Cilium system requirements.
Host preparations
In this blog, let's use a Ubuntu Server 20.04.1 LTS 64bit as an example.
| Name | IP Address | Role |
|---|---|---|
| node1 | 192.168.2.2 | etcd, master, worker |
For more information about Linux compatibility, check out Linux Distribution Compatibility Matrix.
Install KubeKey
Run the following command to get KubeKey:
sudo wget https://github.com/kubesphere/kubekey/releases/download/v1.1.0/kubekey-v1.1.0-linux-64bit.debRun the following command to install KubeKey:
sudo dpkg -i kubekey-v1.1.0-linux-64bit.deb
Generate a configuration file
Run the following command to generate a configuration file:
sudo kk create config --with-kubernetes v1.19.8After the configuration file is generated, run the following command to configure
spec.hostsand setspec.network.plugintocilium:sudo vi config-sample.yamlapiVersion: kubekey.kubesphere.io/v1alpha1 kind: Cluster metadata: name: sample spec: hosts: - {name: node1, address: 192.168.2.2, internalAddress: 192.168.2.2, user: ubuntu, password: ********} roleGroups: etcd: - node1 master: - node1 worker: - node1 controlPlaneEndpoint: domain: lb.kubesphere.local address: "" port: 6443 kubernetes: version: v1.19.8 imageRepo: kubesphere clusterName: cluster.local network: plugin: cilium kubePodsCIDR: 10.233.64.0/18 kubeServiceCIDR: 10.233.0.0/18 registry: registryMirrors: [] insecureRegistries: [] addons: []
Deploy a Kubernetes cluster with KubeSphere installed
Run the following command to deploy dependencies:
sudo kk init os -f config-sample.yamlAfter the dependencies are deployed, run the following command to deploy Kubernetes and KubeSphere together:
sudo kk create cluster -f config-sample.yaml --with-kubesphere v3.2.1Wait for a while and you will see prompts similar to the following example if the installation is successful:
#####################################################
###              Welcome to KubeSphere!           ###
#####################################################

Console: http://192.168.2.2:30880
Account: admin
Password: P@88w0rd

NOTES:
  1. After you log into the console, please check the
     monitoring status of service components in
     "Cluster Management". If any service is not
     ready, please wait patiently until all components
     are up and running.
  2. Please change the default password after login.

#####################################################
https://kubesphere.io             20xx-xx-xx xx:xx:xx
#####################################################
Check Cilium Pods
Log in to KubeSphere using the default username and password (
admin/P@88w0rd).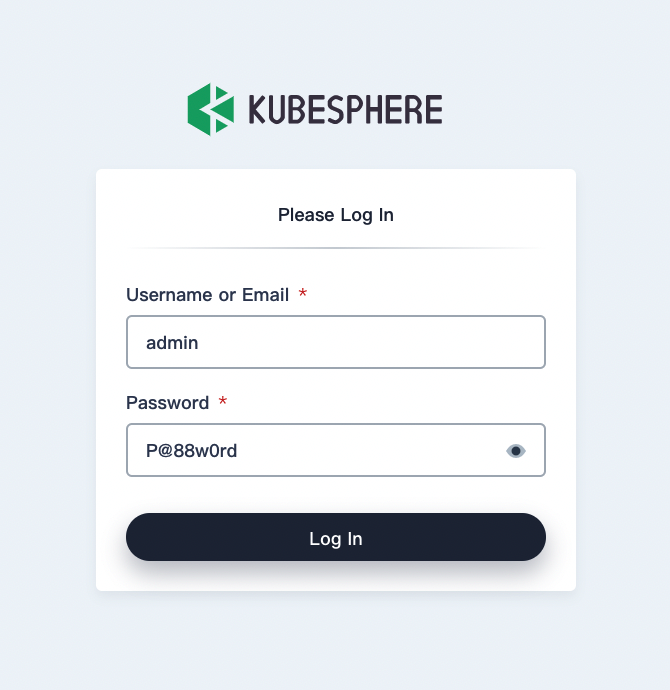
Click Platform in the upper-left corner and select Cluster Management.
In the left navigation pane, select Application Workloads > Pods, select
kube-systemfrom the drop-down list, enterciliumin the search box, and press Enter. The Cilium Pods will be displayed in the list.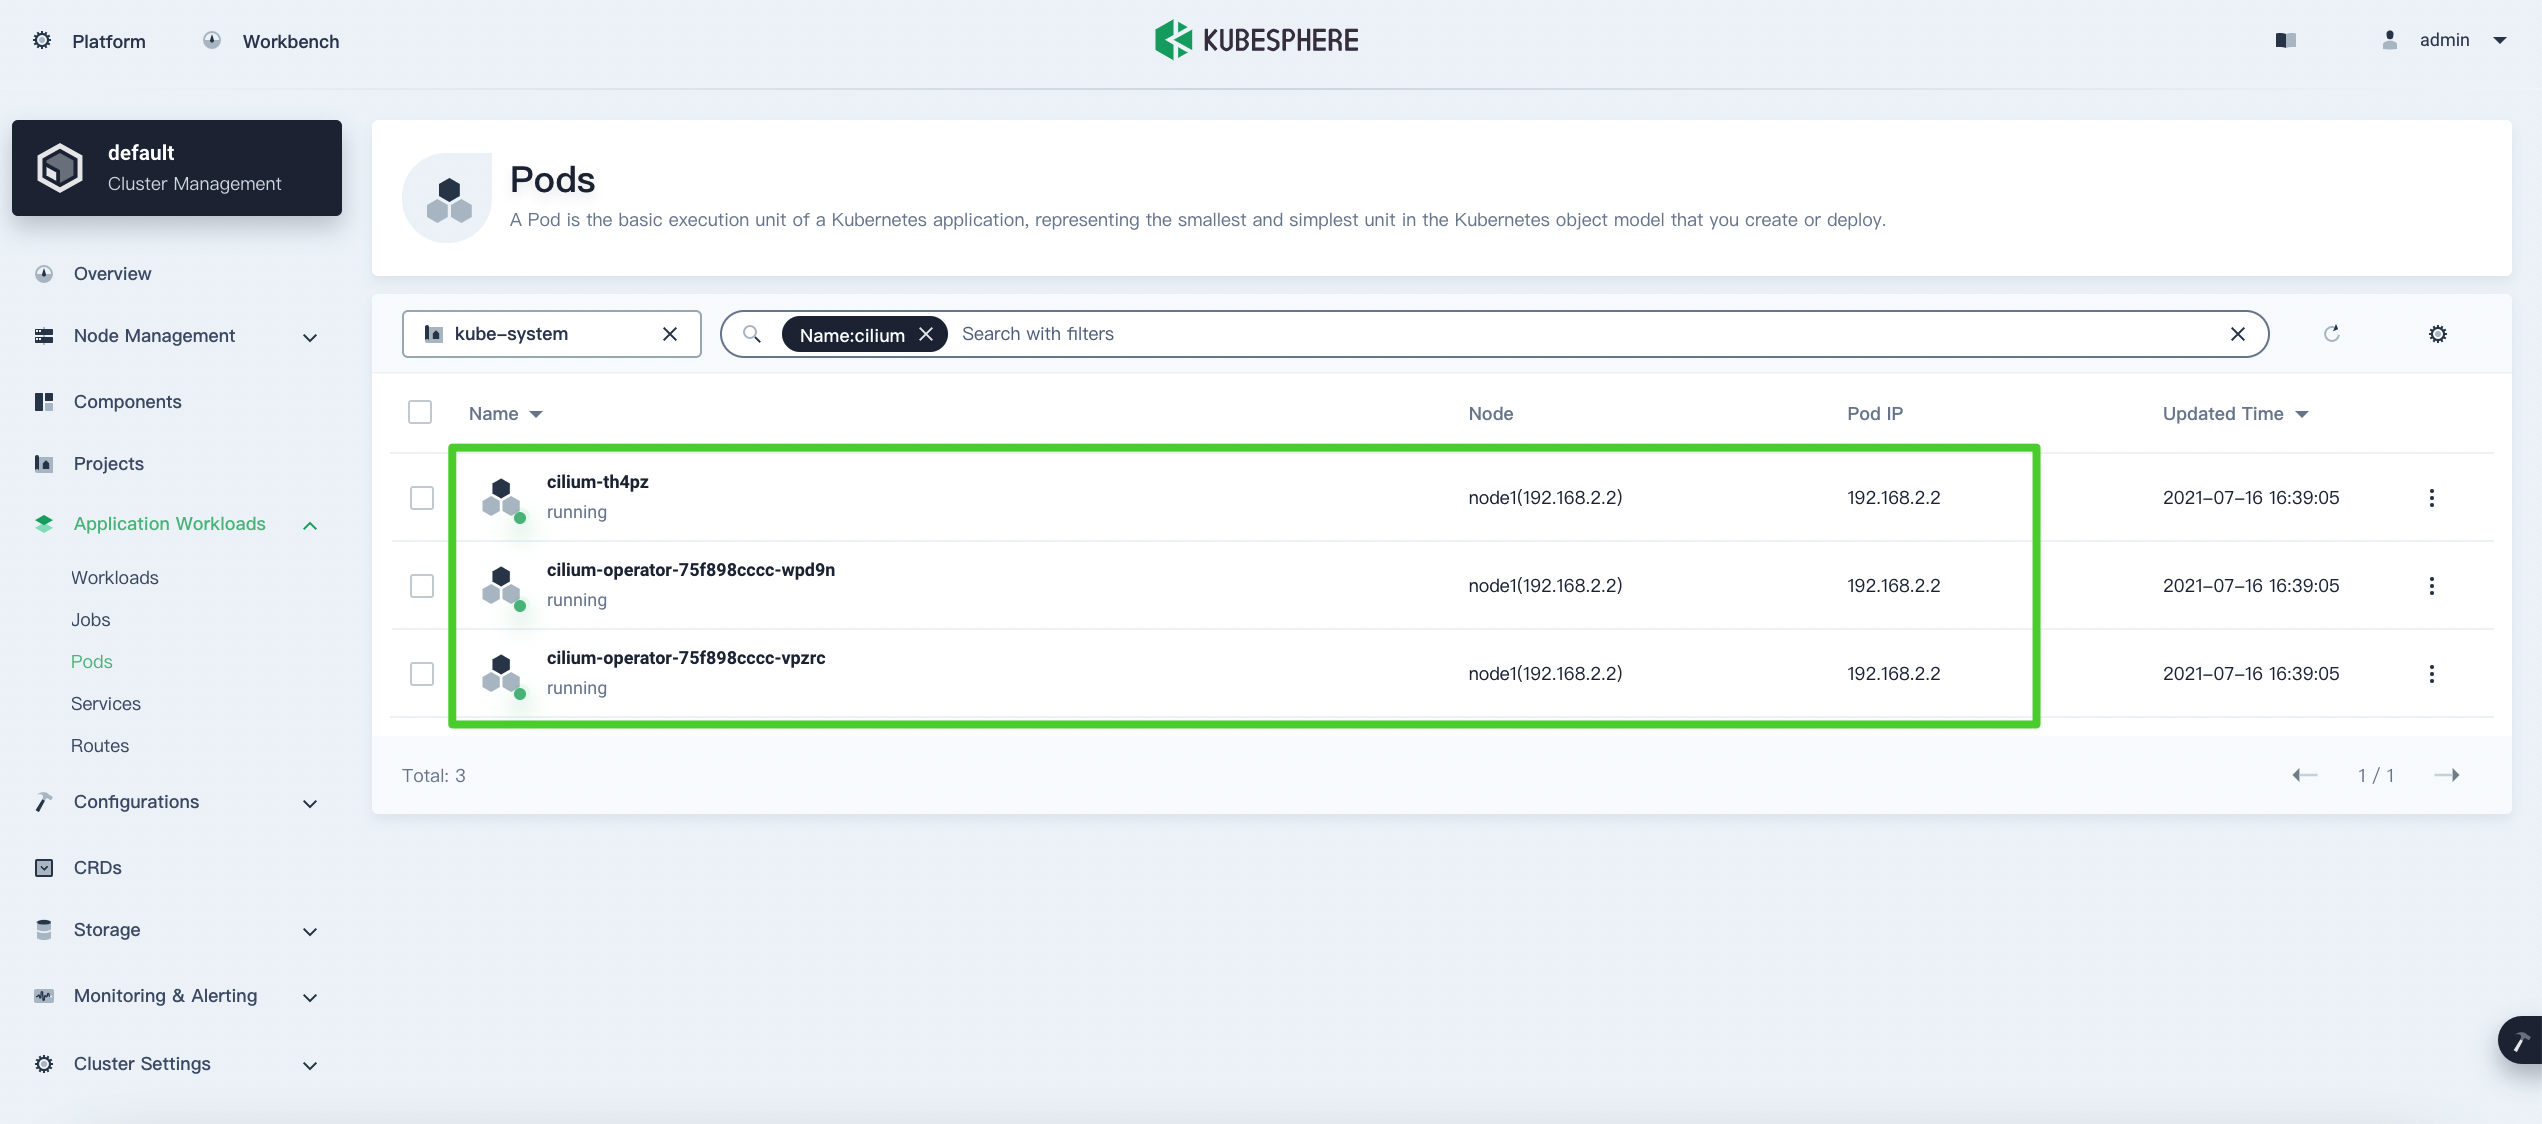
Install the Hubble UI
Hubble is designed for network visualization. Through the eBPF data paths provided by Cilium, Hubble enables deep visibility into the network traffic of applications and services running on Kubernetes. You can use the Hubble CLI or UI tools to realize quick interactive diagnoses of issues like DNS-related ones. In addition to Hubble's own monitoring tools, you can also extend your monitoring policies by integrating other popular cloud-native monitoring system such as Prometheus and Grafana.
Hover your cursor over
 and select Kubectl.
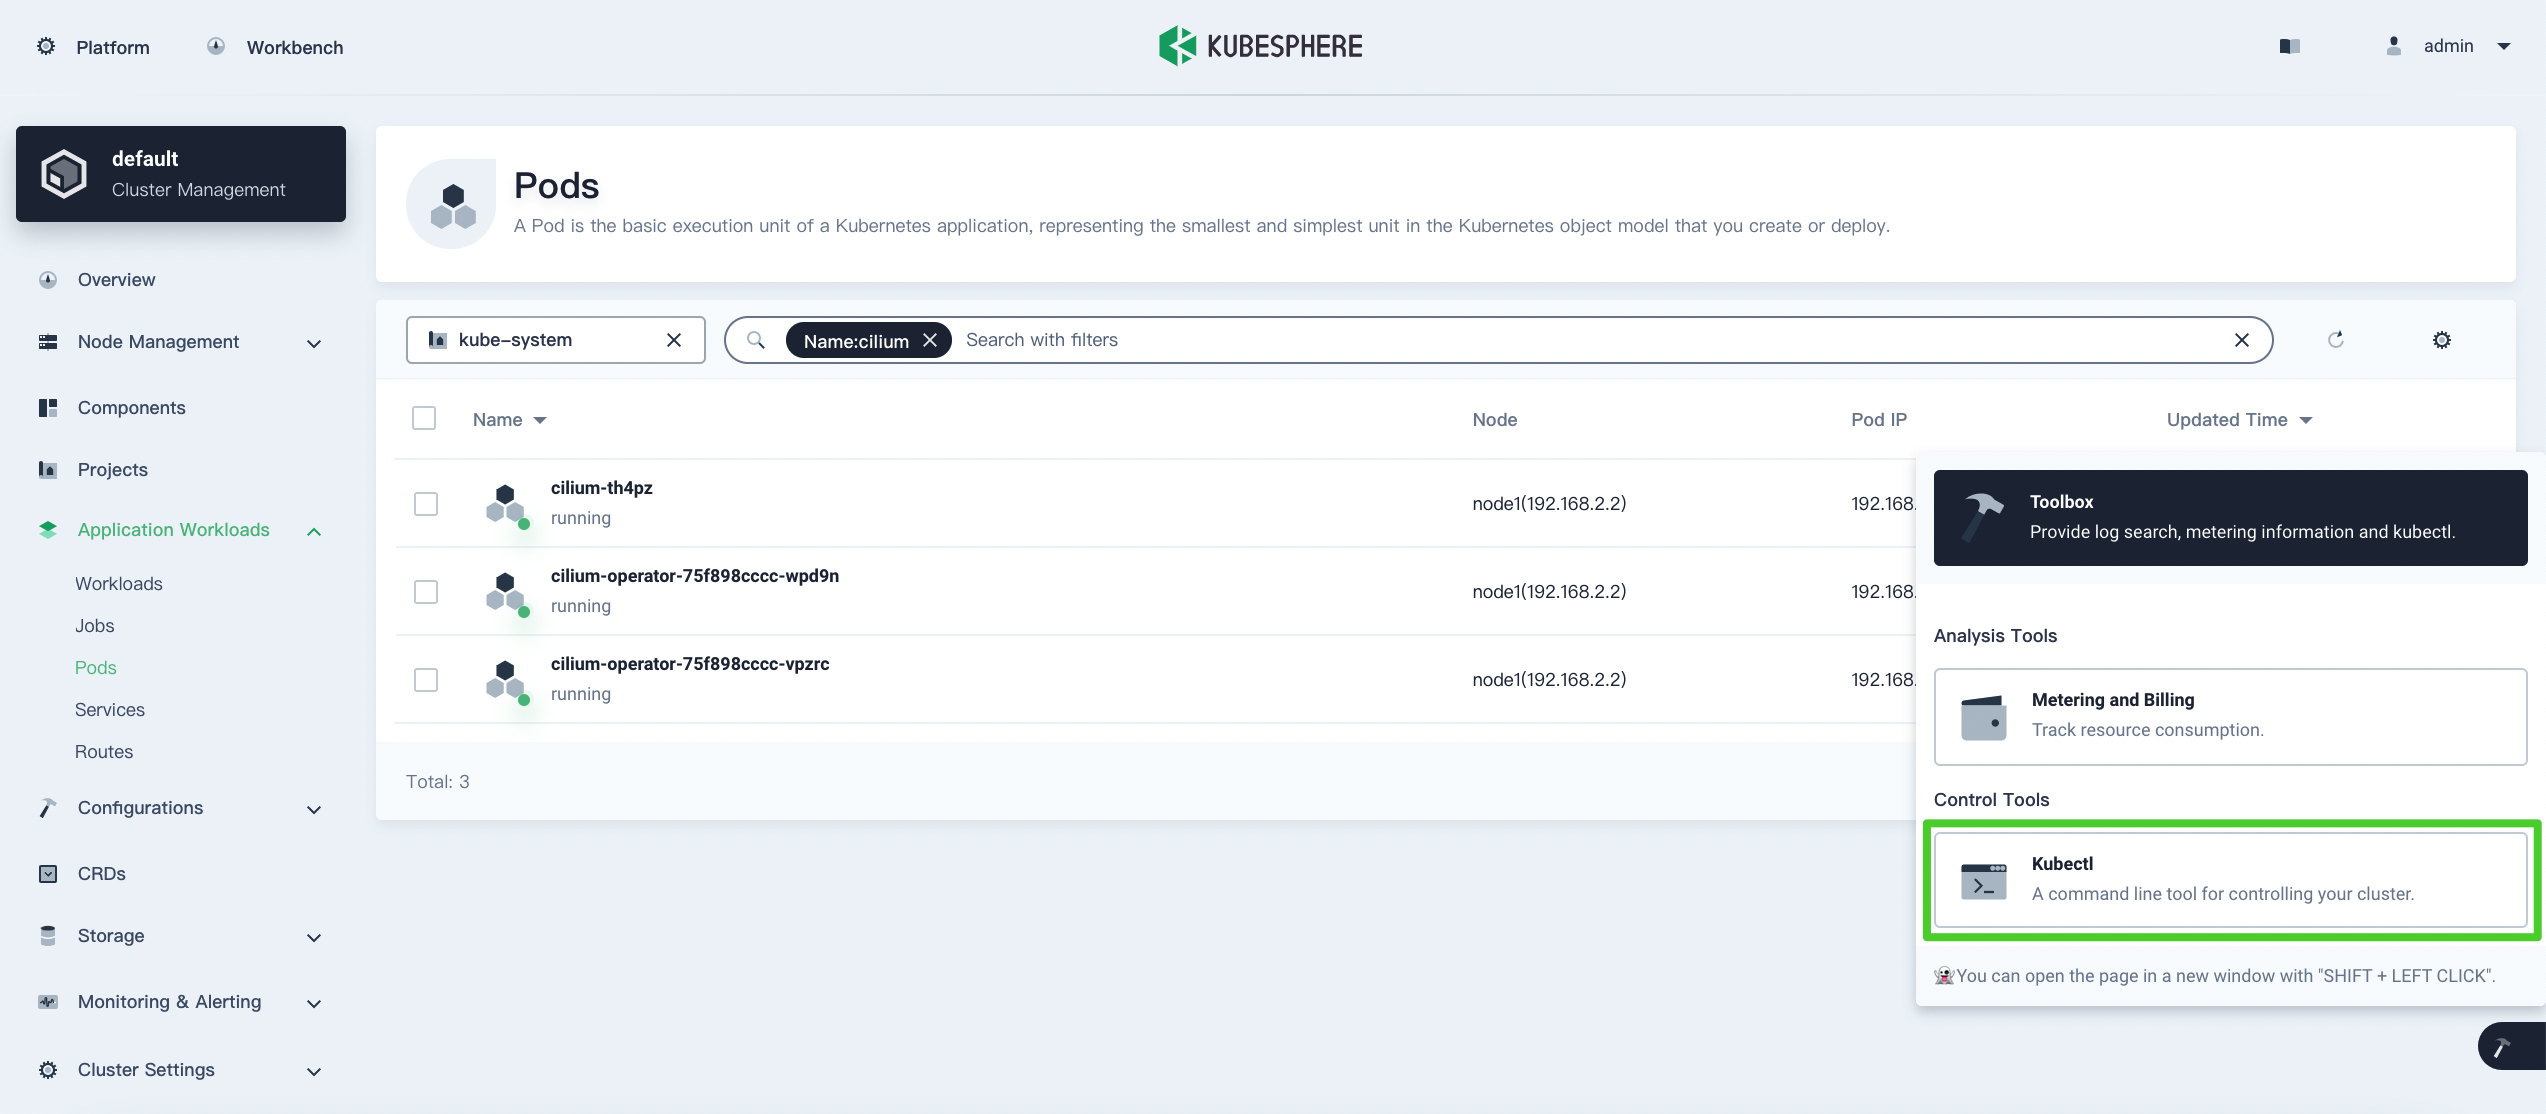
In the displayed dialog box, run the following command to install Hubble:
kubectl apply -f https://raw.githubusercontent.com/cilium/cilium/v1.8/install/kubernetes/experimental-install.yaml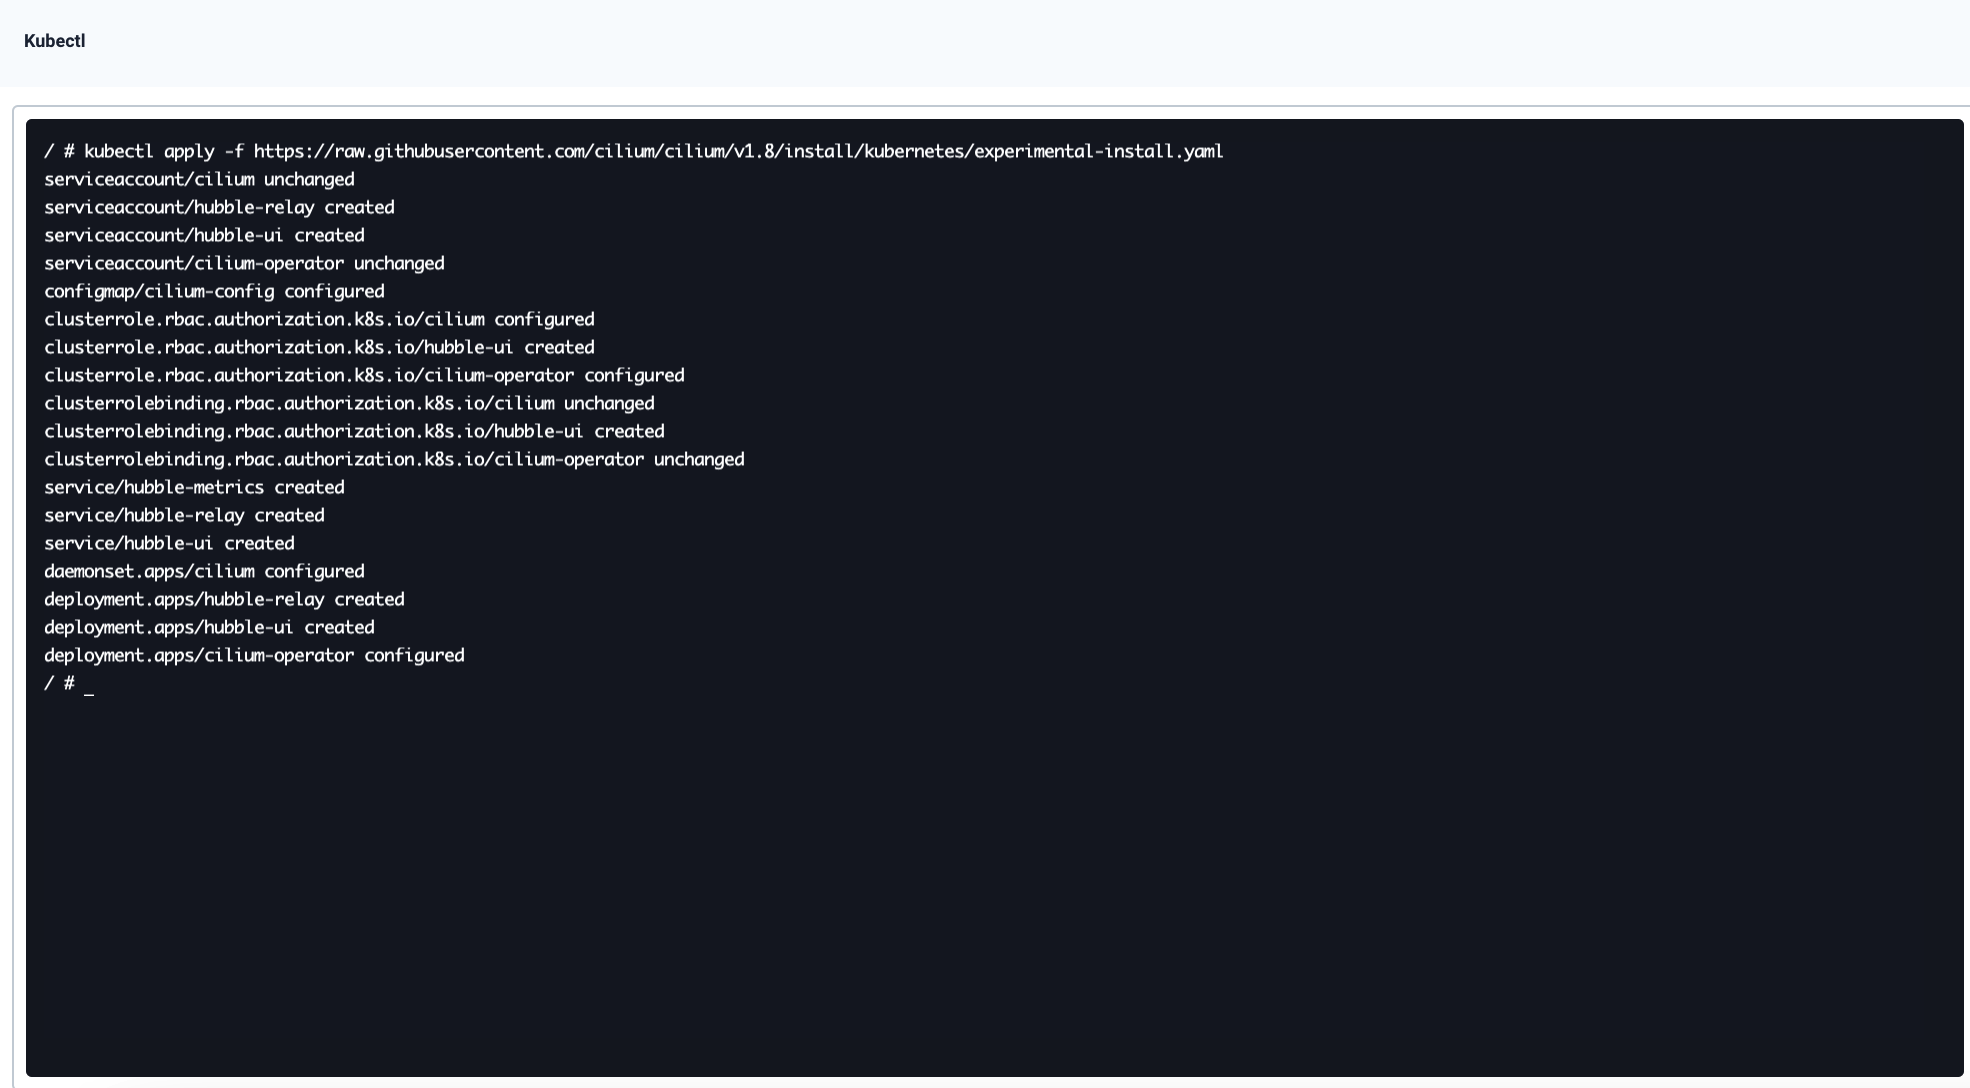
On the Pods page, select
kube-systemfrom the drop-down list, enterhubblein the search box, and press Enter. The Hubble Pods will be displayed in the list.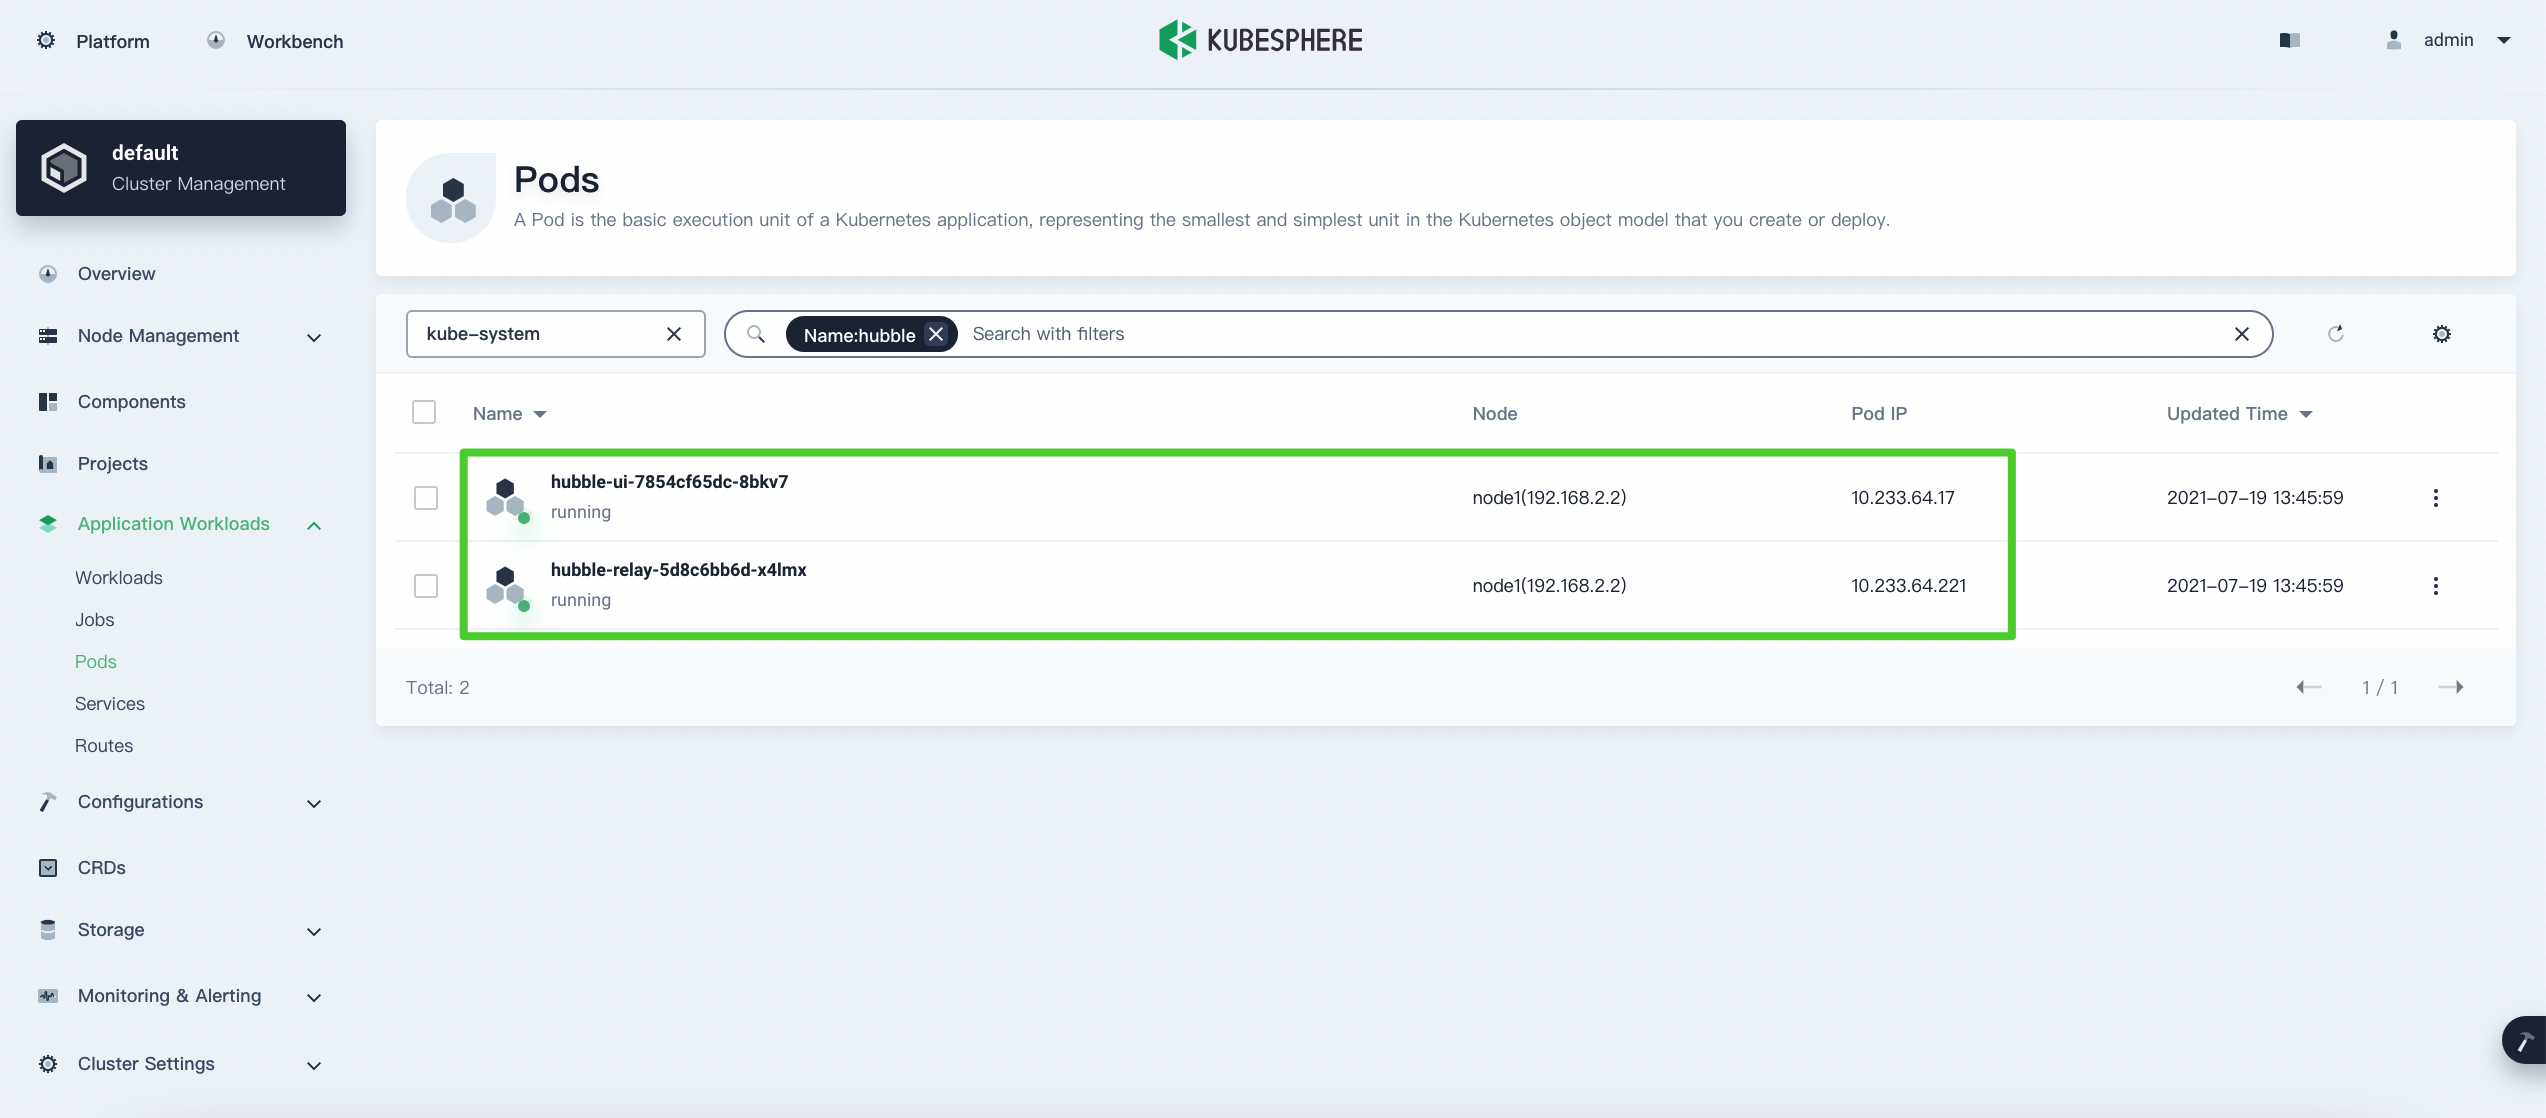
Create a demo Service
Run the following command on your host machine to create a demo Service:
kubectl create -f https://raw.githubusercontent.com/cilium/cilium/1.9.7/examples/minikube/http-sw-app.yaml -n default
Run the following commands to access the demo resources:
$ kubectl exec xwing -n default -- curl -s -XPOST deathstar.default.svc.cluster.local/v1/request-landing
Ship landed
$ kubectl exec tiefighter -n default -- curl -s -XPOST deathstar.default.svc.cluster.local/v1/request-landing
Ship landed
On the Services page of KubeSphere console, select
kube-systemfrom the drop-down list, enterhubblein the search box, and press Enter. Click on the right of
 hubble-uiand select Edit Internet Access.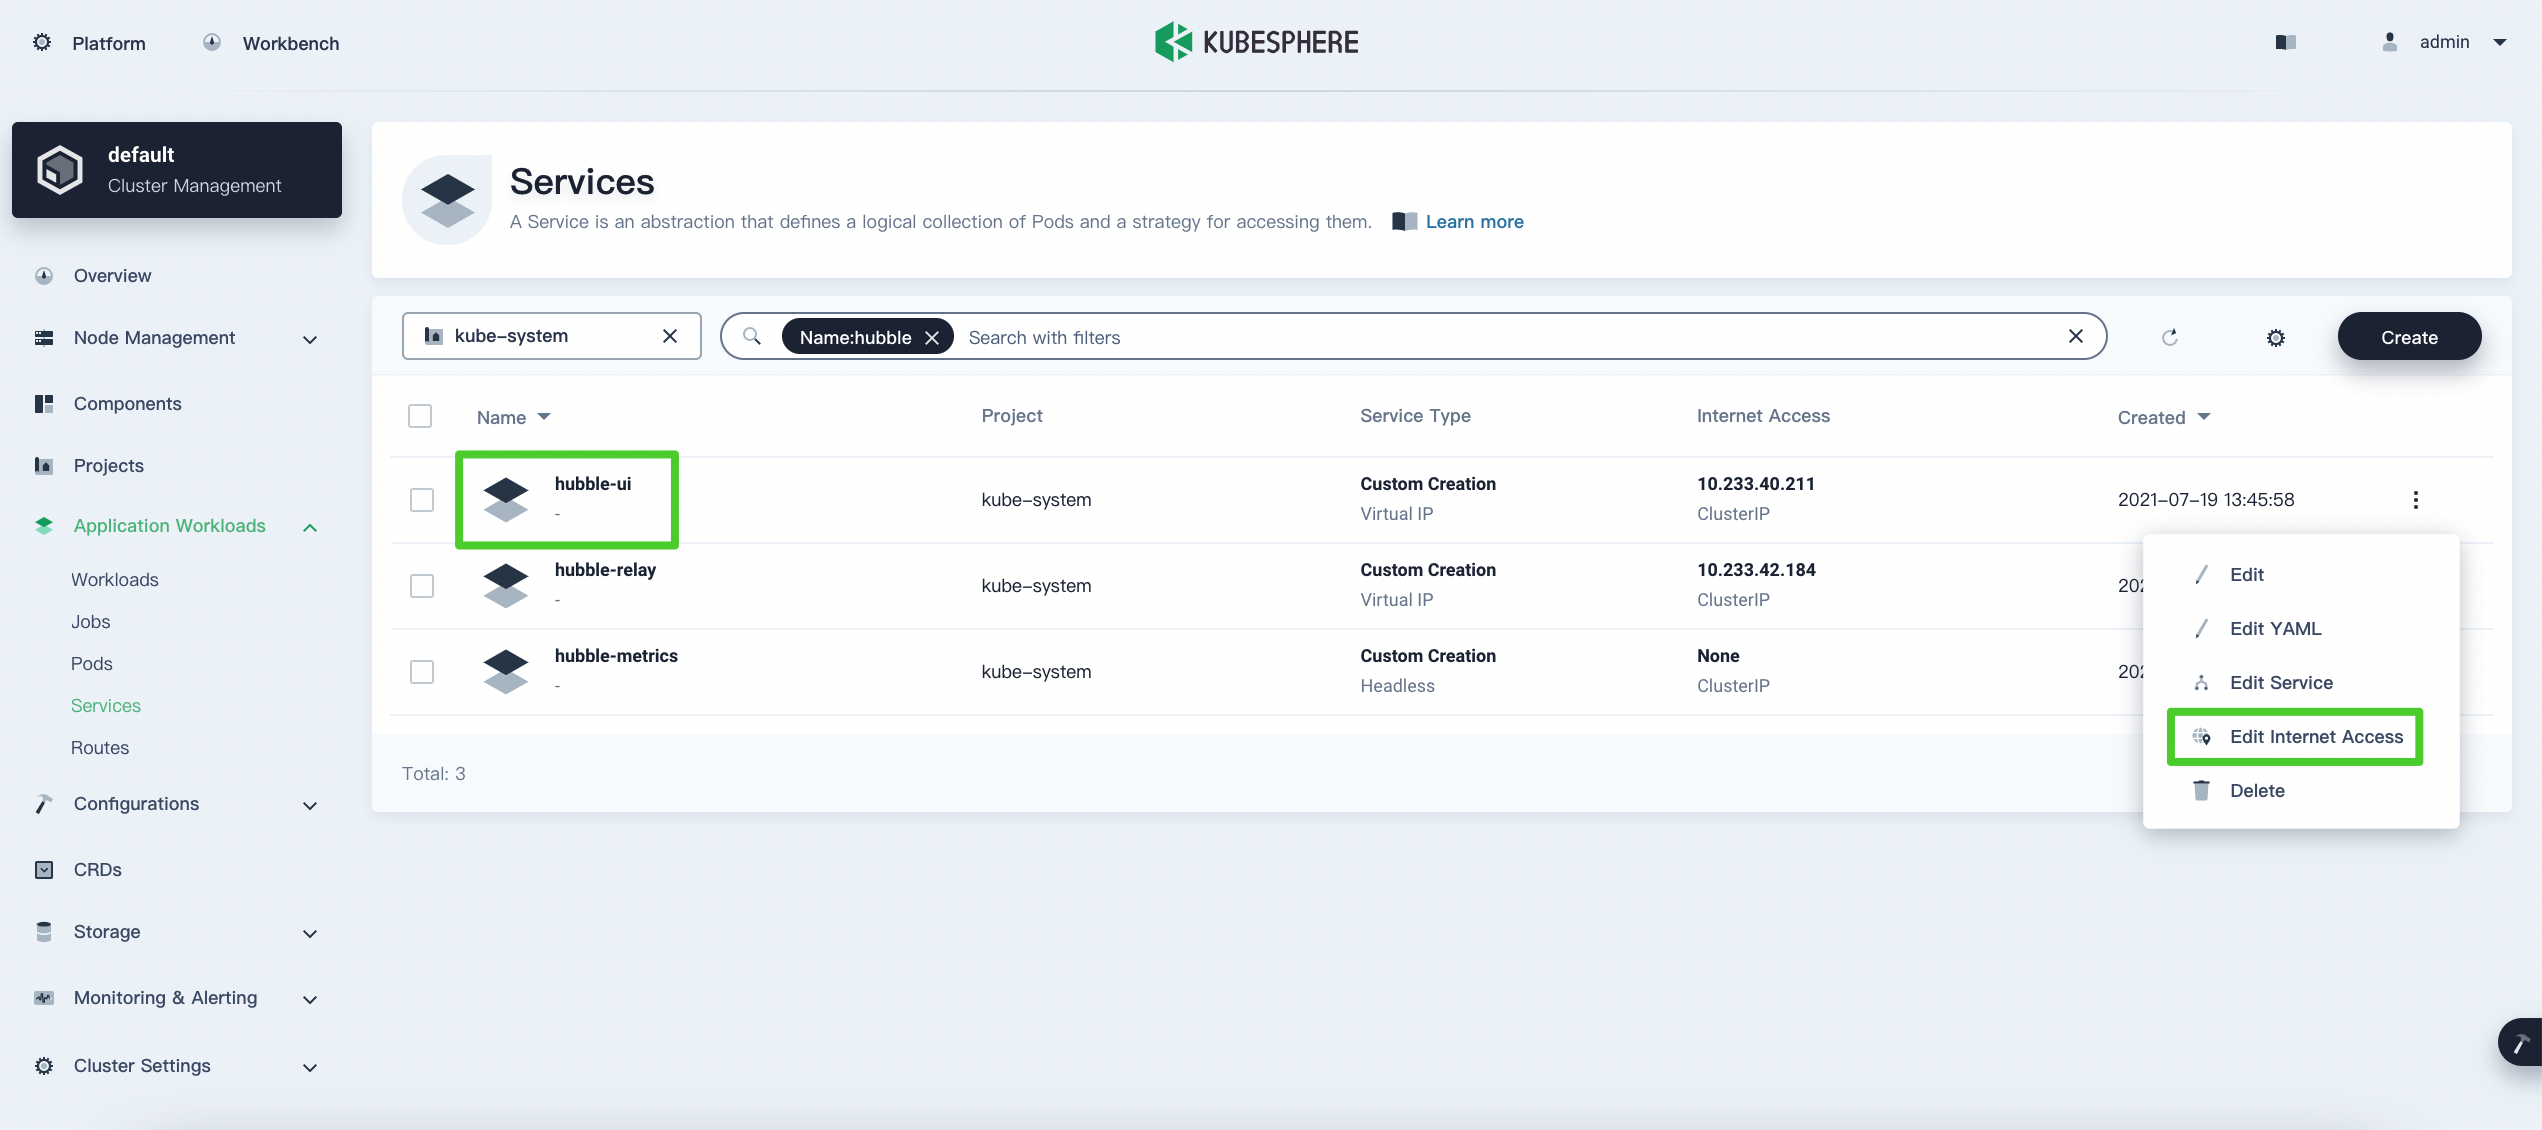
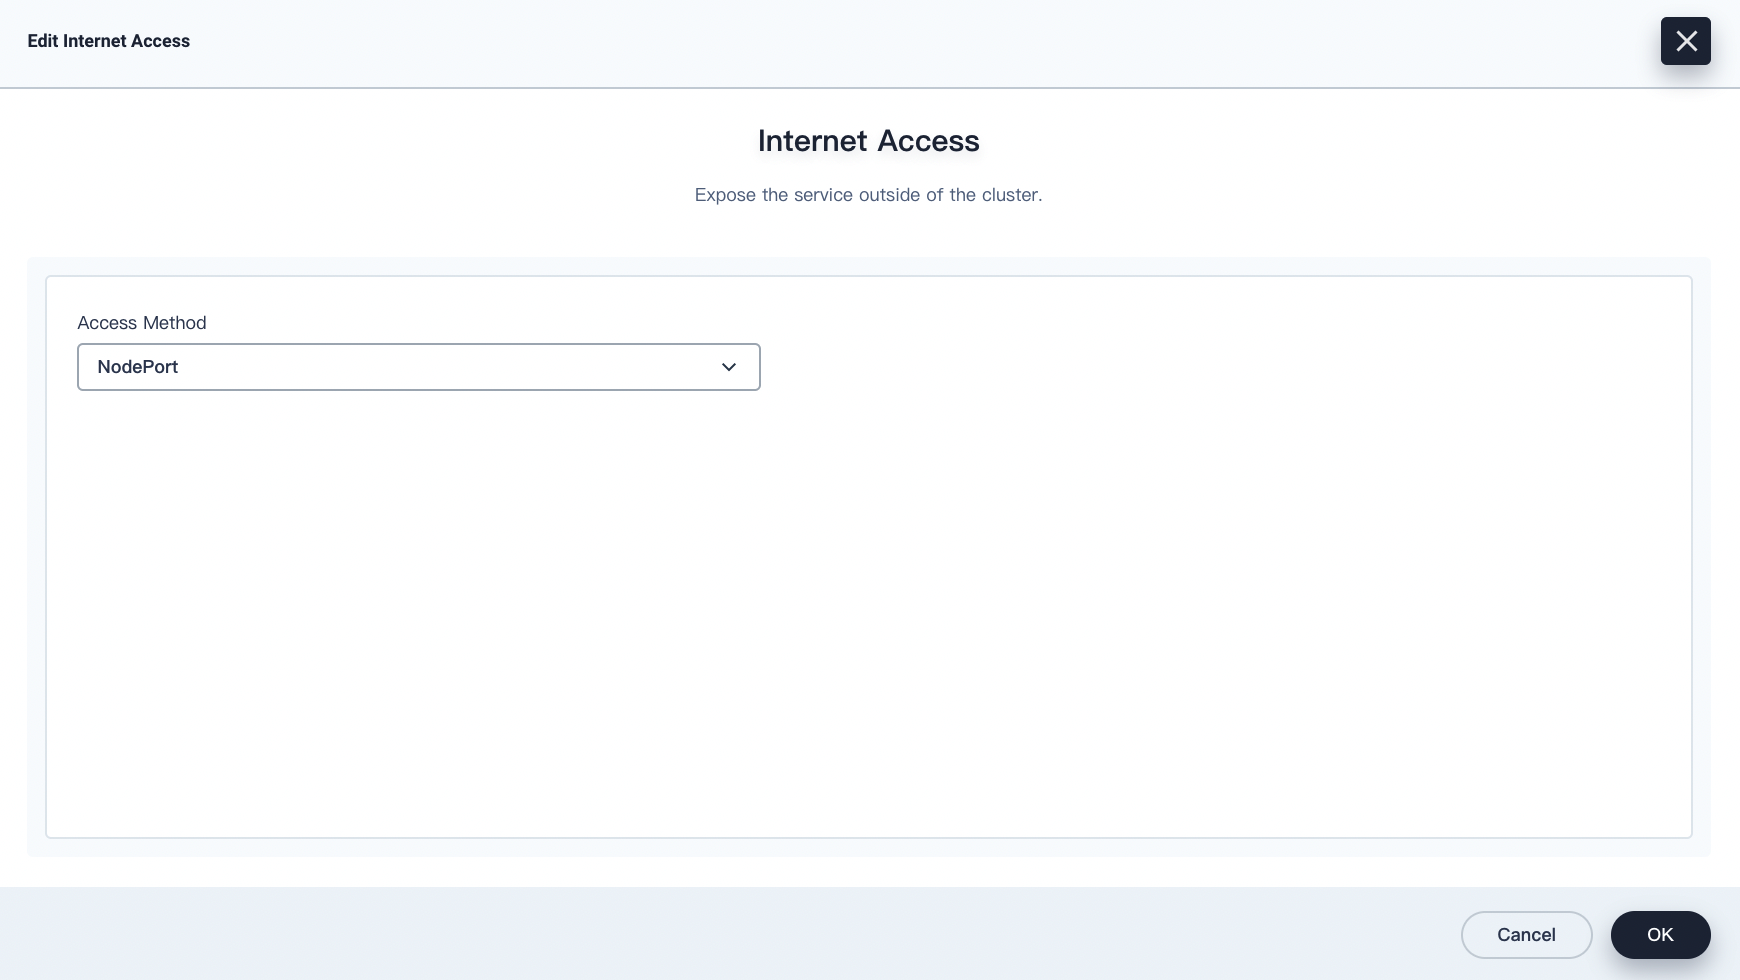
Set Access Method to NodePort and click OK.
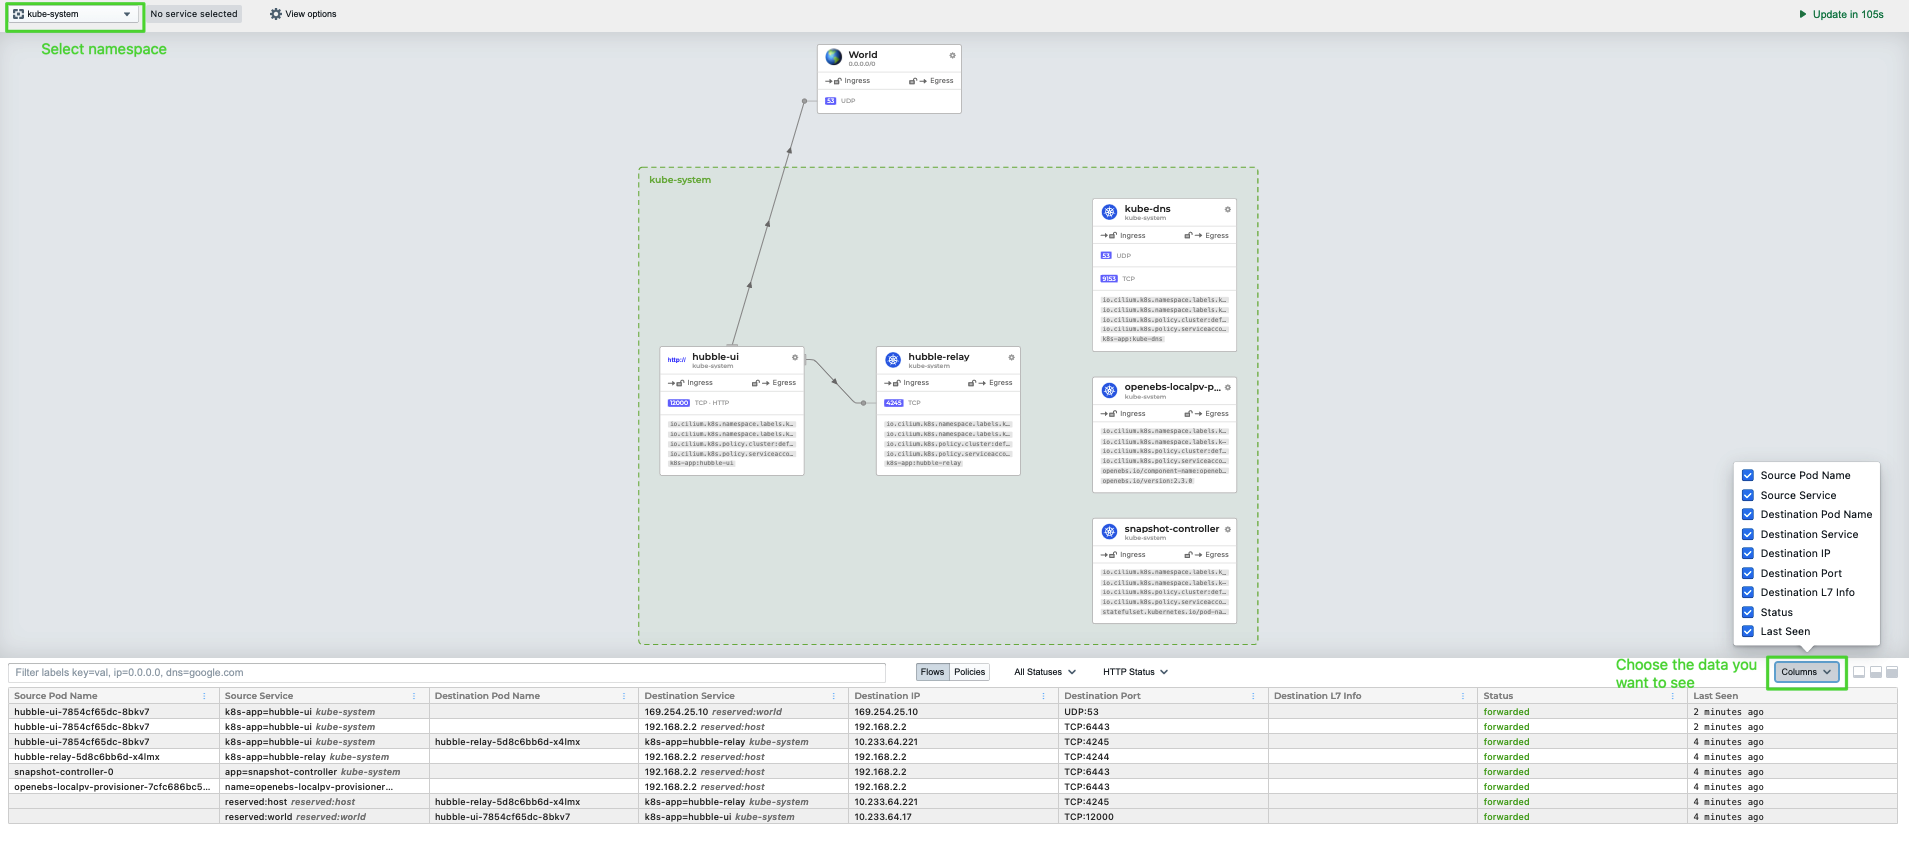
Now, you can view the graphical service map on the Hubble dashboard.
Note
You would need to configure traffic forwarding and firewall policies in your infrastructure environment before accessing the Hubble dashboard.
If you want to enable network visualization on Layer 7, you have to add annotations to your target Pods. Find out more in Layer 7 Protocol Visibility.
Recap
Based on my own experience in using Cilium, it can meet the requirements in most container network use cases. Moreover, Hubble realizes the visualization of data plane in a cloud-native manner, which is much better than Istio. I believe that Cilium will become the network solution that is used by most people among Kubernetes communities before long.
